There I was, in the midst of a typical morning work routine. I had joined and participated in 2 Zoom meetings to start my day, but when I attempted to join meeting number 3, chaos ensued…
All of the sudden, Zoom wouldn’t recognize my microphone or other AV devices, and a wave of “device not found” errors continually streamed across my screen. The Zoom Linux client isn’t known to be the best behaving child, so I killed all processes with pkill -a zoom, and launched it again. This is a typical first step when seeing odd behavior from Zoom. Alas, the streaming device errors continued.
With no luck on the client restart, the next step was, a reboot! sudo init 6 usually does the trick for me.
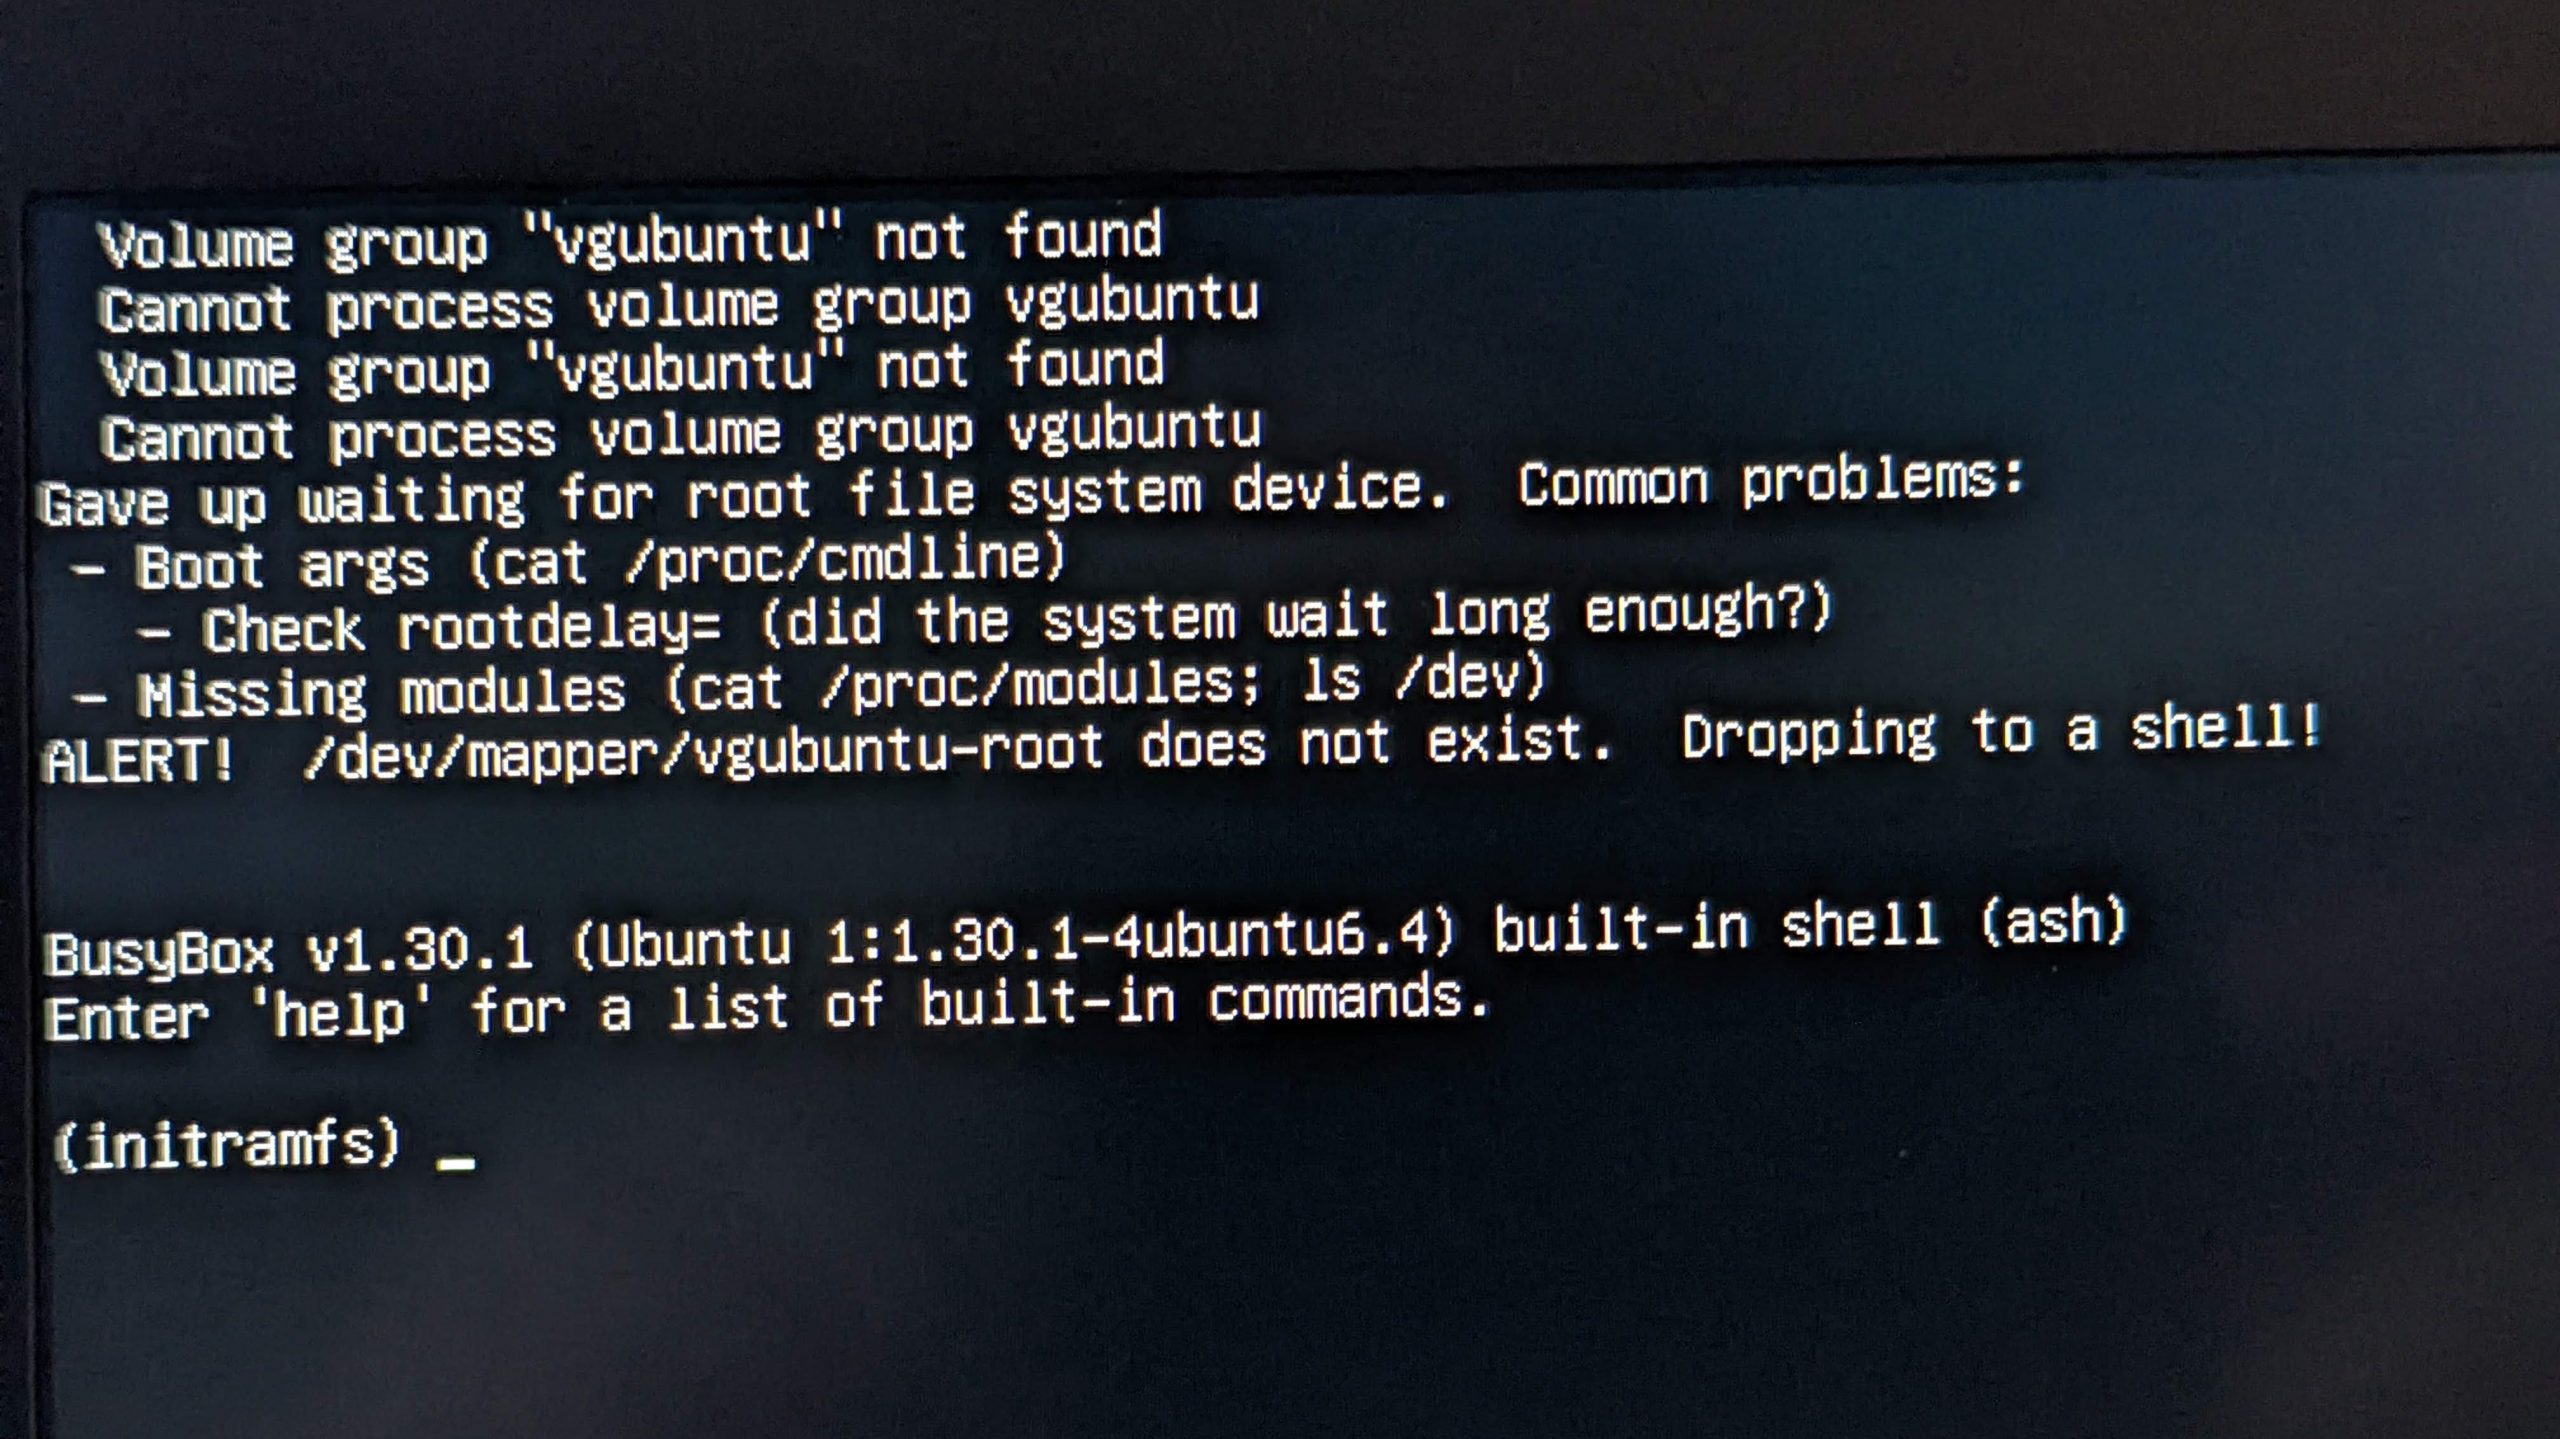
Volume group “vgubuntu” not found, ALERT! /dev/mapper/vgubuntu-root does not exist.
Unfortunately, the reboot put me into an even worse state. I was unable to boot back into the OS! 😯
For context, my work notebook in this scenario is a Lenovo ThinkPad X1 Extreme Gen 3, running Ubuntu 20.04 (focal fossa). The failed boot process messages are shown below.
  Volume group "vgubuntu" not found
  Cannot process volume group vgubuntu
  Volume group "vgubuntu" not found
  Cannot process volume group vgubuntu
  Volume group "vgubuntu" not found
  Cannot process volume group vgubuntu
Gave up waiting for suspend/resume device
  Volume group "vgubuntu" not found
  Cannot process volume group vgubuntu
Gave up waiting for root file system device. Common problems:
 - Boot args (cat /proc/cmdline)
   - Check rootdelay= (did the system wait long enough?)
 - Missing modules (cat /proc/modules; ls /dev)
ALERT!   /dev/mapper/vgubuntu-root does not exist.   Dropping to a shell!
BusyBox v1.30.1 (Ubuntu 1:1.30.1-4ubuntu6.4) built-in shell (ash)
Enter 'help' for a list of built-in commands.
(initramfs) _
I immediately knew this was a very bad thing. If the boot process can’t find your volume group, you’re in big trouble.
How to fix Volume group “vgubuntu” not found

Without my volume group accessible, Ubuntu prompted me to do a disk check, which I gladly said yes to. Unfortunately, this did not solve the problem at all either. The OS and its utilities won’t be able to analyze and repair sectors on a file system if that file system is not detected and not decrypted first.
Some would give up at this point and reimage their machine, but not I! I scoured the web for more suggestions, keeping in mind that I might be able to boot to a bootable USB version of Ubuntu to help solve the problem.
Booting into a bootable USB live version of Ubuntu
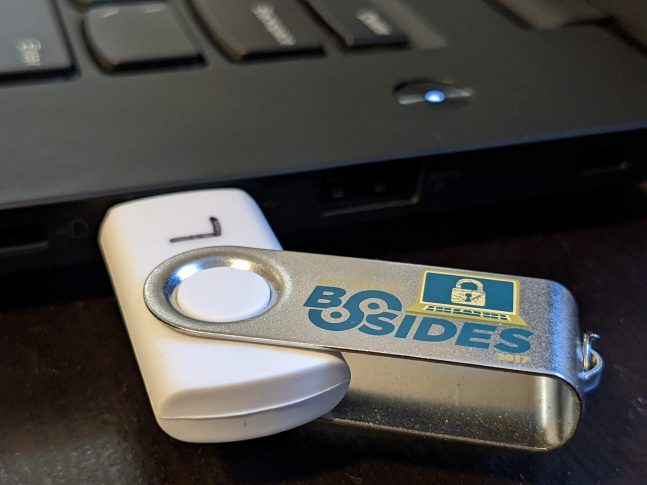
Thankfully, I already had a USB thumb drive with a Ubuntu 20.04 installation files on it. These typically allow you to boot to the “live USB” and run off the Ubuntu OS files on the USB stick.
If you don’t know how to create one of these, see the instructions here for creating bootable Ubuntu USB media.
You may have to access your BIOS and explicitly change the boot order or select the USB device in order to boot from it. Accessing the BIOS varies across manufacturers, so Google your model’s BIOS key and then press that key at start up to enter the BIOS menu.
After booting into a live USB version of Ubuntu, the first thing you’re going to want to do is list out your partitions. You can do this with the command:sudo lsblkid
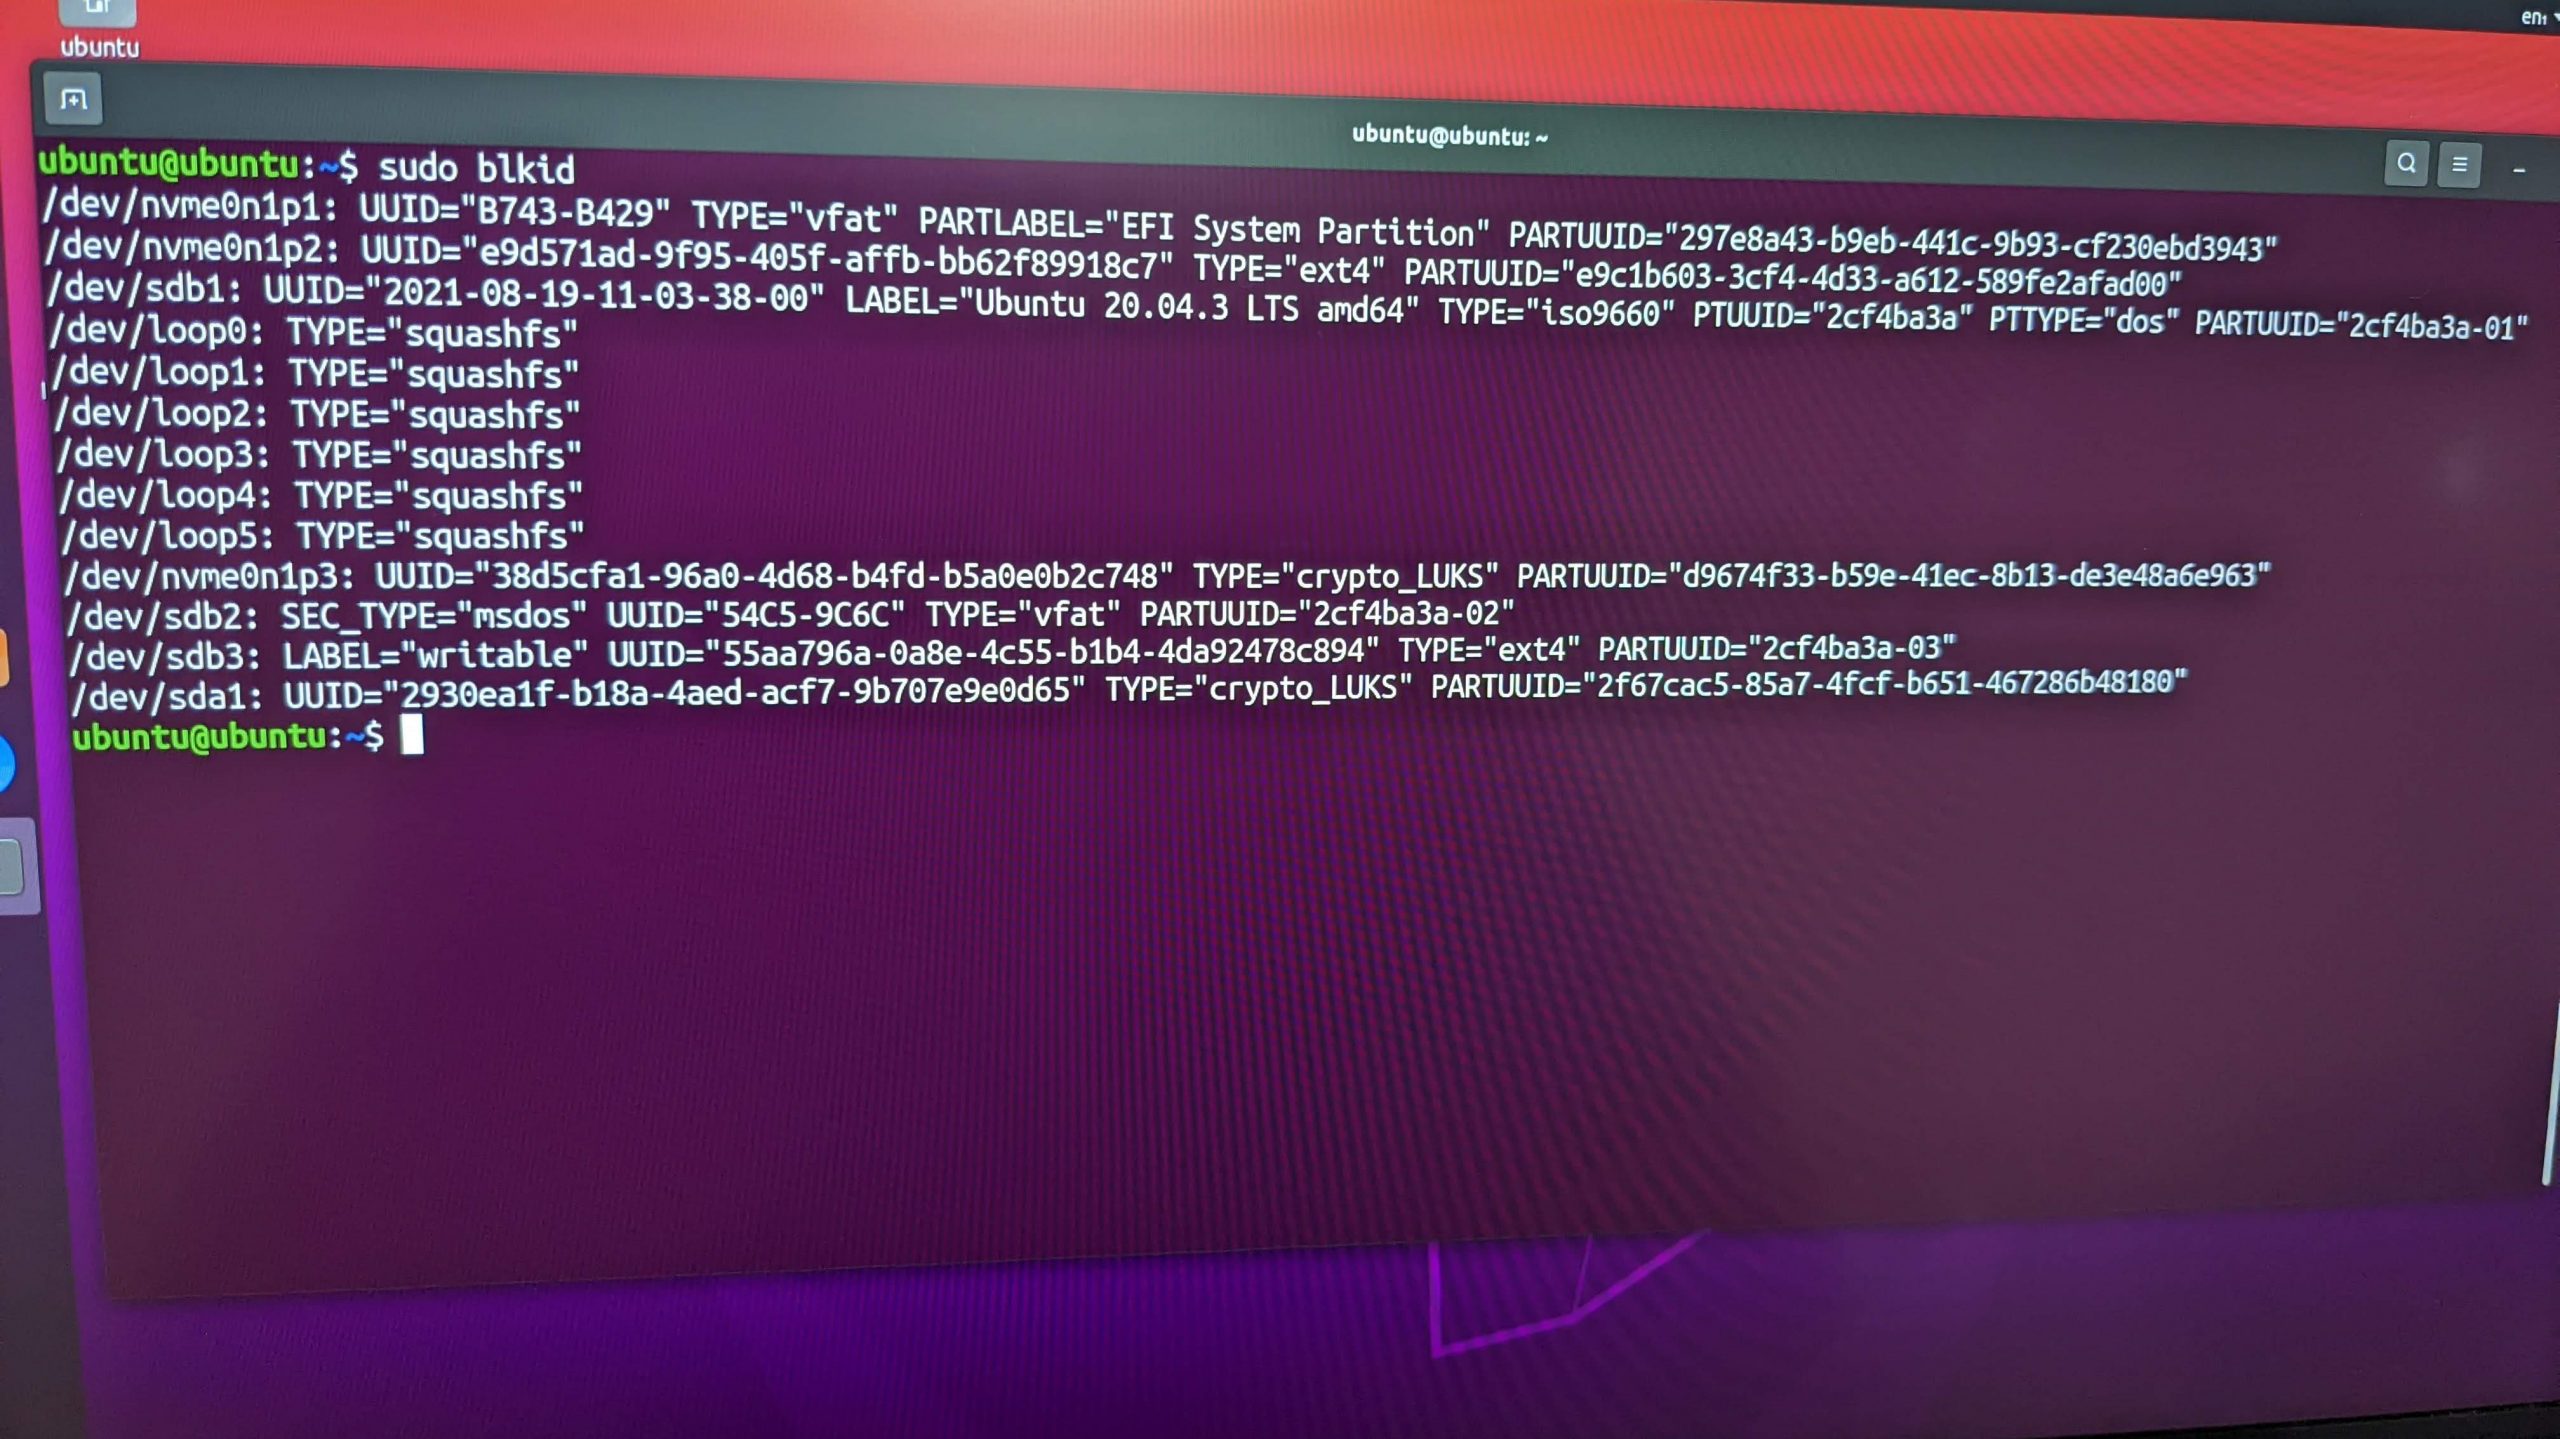
Notice that I have a crypto_LUKS partition named /dev/nvme0n1p3 (your LUKS partition name could vary, depending on the disk type and other factors). This is great! My encrypted partition still exists and is still recognizable from a bootable USB version of Ubuntu. However, why isn’t my boot process detecting this partition and prompting me to decrypt it with a decryption passphrase, per the typical boot process? I didn’t know the answer to this, but I was determined to forge on and attempt to repair it.
After some DuckDuckGo’ing and Googling, I found this great answer on AskUbuntu that details how to decrypt an encrypted partition, mount the file systems, and then chroot into that temporary file system, using these commands:cryptsetup luksOpen /dev/nvme0n1p3 nvme0n1p3_crypt; vgchange -ay; mount /dev/mapper/ubuntu--vg-root /mnt; mount /dev/nvme0n1p2 /mnt/boot; mount /dev/nvme0n1p1 /mnt/boot/efi; mount -t proc proc /mnt/proc; mount -o bind /dev /mnt/dev; mount -t sysfs sysfs /mnt/sys; chroot /mnt
Of course, all of these commands didn’t work for me, because my partitions and my volume group names were different than the ones specified in these commands.
The command mount /dev/mapper/ubuntu--vg-root /mnt wouldn’t work for me, as that is not the volume group name on my system. Inspecting the output of ls /dev/mapper, I found that mine was named /dev/mapper/vgubuntu-root, so I replaced that command with:mount /dev/mapper/vgubuntu-root /mnt
I was then able to successfully run:cryptsetup luksOpen /dev/nvme0n1p3 nvme0n1p3_crypt; vgchange -ay; mount /dev/mapper/vgubuntu-root /mnt; mount /dev/nvme0n1p2 /mnt/boot; mount /dev/nvme0n1p1 /mnt/boot/efi; mount -t proc proc /mnt/proc; mount -o bind /dev /mnt/dev; mount -t sysfs sysfs /mnt/sys; chroot /mnt
The first command, cryptsetup luksOpen /dev/nvme0n1p3 nvme0n1p3_crypt will prompt you to enter the disk encryption passphrase for your encrypted disk, in order to make it available. If you don’t know this passphrase, then you’re out of luck.
The command mount /dev/mapper/vgubuntu-root /mnt; mounts the root partition (file system) from my notebook’s drive at the location /mnt on the file system of the running instance of the live USB Ubuntu.
The command mount /dev/nvme0n1p2 /mnt/boot; mounts the boot partition from my notebook’s drive at the location /mnt/boot on the file system of the running instance of the live USB Ubuntu.
The command mount /dev/nvme0n1p1 /mnt/boot/efi; mounts the EFI partition from my notebook’s drive at the location /mnt/boot/efi on the file system of the running instance of the live USB Ubuntu.
The below commands mount the /dev and the sysfs file systems in sub-directories of /mnt to allow for a fully contained and fully functioning Ubuntu file system located at /mnt. The bind option of mount remounts part of the file hierarchy somewhere else. The -t sysfs option is telling mount that it is a sysfs file system type. mount -o bind /dev /mnt/dev; mount -t sysfs sysfs /mnt/sys;
chroot /mnt
The final command in the block above is chroot /mnt
So what is chroot? ( pronounced cha-root )
A
chroot Wikipediachrooton Unix and Unix-like operating systems is an operation that changes the apparent root directory for the current running process and its children. A program that is run in such a modified environment cannot name (and therefore normally cannot access) files outside the designated directory tree. The term “chroot” may refer to the chroot(2) system call or the chroot(8) wrapper program. The modified environment is called a chroot jail.
Because I previously mounted all required partitions and file systems for a fully functioning Linux system to run from /mnt, chrooting into that directory has allowed me to have a fully functioning Ubuntu shell on my notebook file systems that I was previously unable to boot into!
After entering the chroot jail, I then found that I couldn’t reach the internet. I found that I was missing a resolv.conf file:# ls -lah /etc/resolv.conf
lrwxrwxrwx 1 root root 27 Dec 30 16:12 /etc/resolv.conf -> /run/resolvconf/resolv.conf
I resolved this issue with:sudo cp /etc/resolv.conf /mnt/run/resolvconf/
I had a symlink at /etc/resolv.conf pointing to /run/resolvconf/resolv.conf
You could also delete your symlink and copy the file into /etc/resolv.conf
sudo apt upgrade -y && sudo apt upgrade -y to the rescue?
Now that I had a fully functioning chroot jail using my notebook’s file system, I was hoping that running an apt update and an apt upgrade would resolve an OS or package issue that was causing my boot issue.
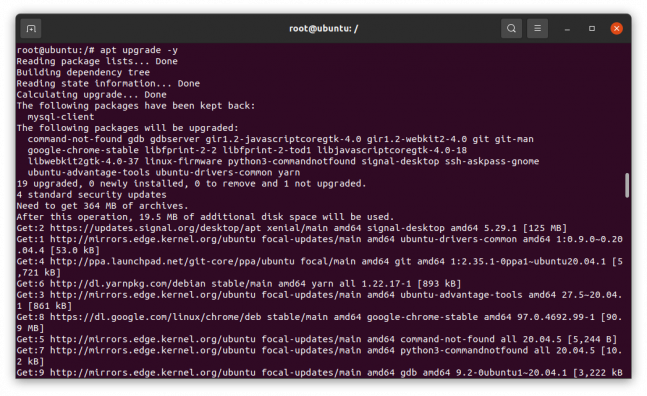
Things were looking promising! I was able to successfully upgrade my OS and system packages. After the upgrades completed, I rebooted and crossed my fingers.
As the system booted back up, I ran into the same issue, it showed a “vgubuntu not found” message and never prompted me for the disk encryption passphrase!
Back to the live USB for fsck
I booted back into the live USB environment, decrypted my encrypted partition, and then ran a file system check:sudo fsck /dev/mapper/vgubuntu-root -y
fsck from util-linux 2.34
e2fsck 1.45.5 (07-Jan-2020)
/dev/mapper/vgubuntu-root: clean, 655174/60907520 files, 42745570/243616768 blocks
No problems found
Another dead end.
update-initramfs to the rescue!
I continued to search online for solutions and found this wonderful post: Recovering from an unbootable Ubuntu encrypted LVM root partition
I ran:apt install lvm2 cryptsetup-initramfs
update-initramfs -c -k all
These commands completed successfully, and then I rebooted. I was then prompted for my disk encryption passphrase during the boot process, and I could then boot into kernel 5.10.0-1057-oem! Hallelujah!
This was one of the older kernels in my list of available kernels.
boot partition full
Back in my normal, non-live-USB Linux environment, I tried to run sudo update-initramfs -c -k all
I received errors:Error 24 : Write error : cannot write compressed block
E: mkinitramfs failure cpio 141 lz4 -9 -l 24
update-initramfs: failed for /boot/initrd.img-5.10.0-1057-oem with 1.
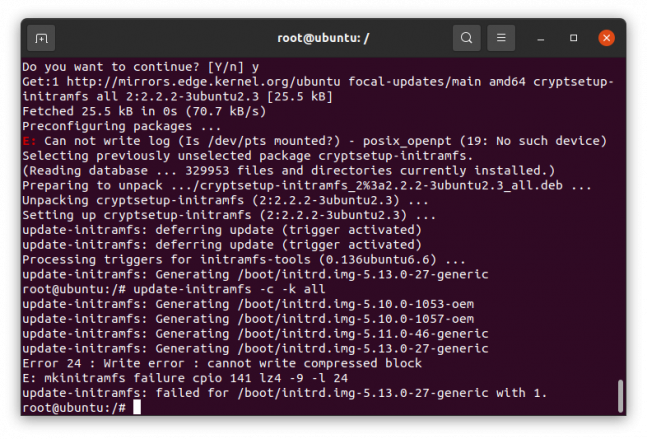
Googling this, found suggestions that this meant my /boot partition was out of space, which appeared to be the case.
Then I inspected ls -lah /boot and found older files for
initrd.img-5.10.0-1053-oem. I deleted all files for 5.10.0-1053 on /boot to free up space.
I was then able to run “sudo update-initramfs -c -k all” successfully, and I’ve been booting and running successfully on this system since then.
What caused this?
Prior to this issue, I was getting warnings that my /boot partition was running out of space. I do recall going in and attempting to delete older kernel files to free up space. I don’t see how that would’ve caused my encrypted file system to no longer be detected by the boot process, but it is a likely suspect.
It’s also strange that my system continued to run fine for some time after that, including multiple Zoom calls, until something occurred that caused it to royally break down.
In the end, I spent a whole lot of time getting this resolved, but I learned a lot. I hope this post helps you too if you’re here reading it. Cheers!
Other lvm commands
You may also be able to leverage the pvs (physical volumes) and vgs (volume groups) commands to find the name of your volume group.
Recovery mode
When you’re having Linux system issues one of the things to try is to boot into recovery mode. From there, you can drop into a root shell or run file system checks.
To get to recovery mode, press Escape or Shift before the Ubuntu Plymouth boot splash loads. For my Lenovo machines, I hit Escape right after seeing the Lenovo screen in the boot process. This should get you into the GRUB boot screen. Select Advanced options for Ubuntu . On the next menu, choose one of the kernel options that lists (recovery mode) at the end. Wait for the boot process to bring you into the Recovery Menu and to run disk checks, choose: fsck Check all file systems
Here you can also boot into a root shell, if the normal boot process isn’t work for you. This wasn’t applicable for my situation, as I couldn’t even decrypt my disk, so there was no way to boot into recovery mode.


If this works after I reboot, I just want to say, thank you man